Dear customers online sales have stopped for a week while we await new stock. Read about the production process | Free Shipping for all orders over £50
Best Practices for Glazing Earthenware Pottery
Glazing earthenware pottery with Old Tupton Ware:
The process of glazing earthenware pottery is crucial to making the finished product more resilient and long-lasting.
This page explains how to glaze your pottery.
The Potter’s Preparation:
Make sure the pottery piece has been bisque baked and is clean.
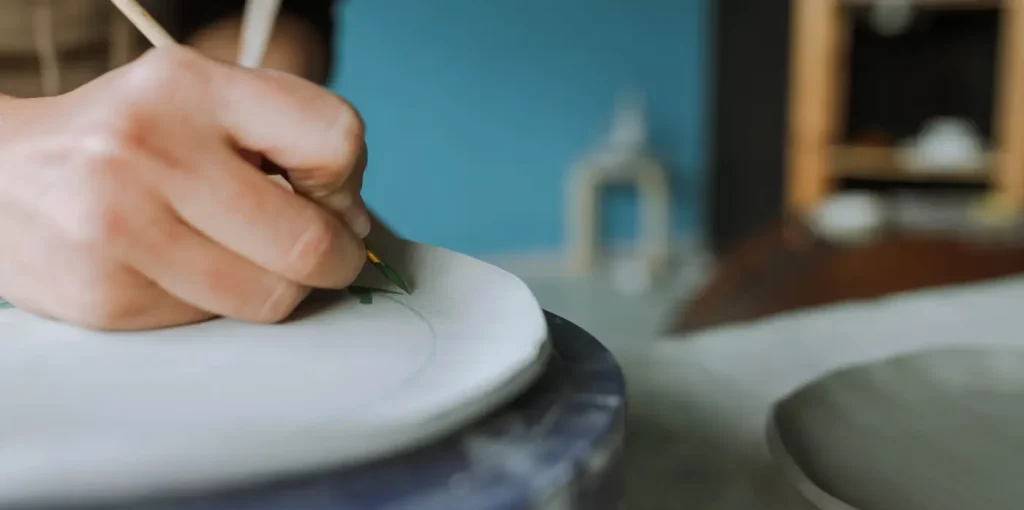
Before glazing the pottery piece, draw the design on it using a pencil or marker.
Creating the Glaze:
The manufacturer’s instructions should be followed while mixing the glaze.
Usually, you will get the consistency of a thin, pourable paint, so it may be put on the pottery piece with ease.
If the glaze is too thick, add a little more water.
Use of Glaze:
- “I like to apply the glaze to the pottery piece using a paintbrush or pouring jug.”
To ensure that the whole surface of the pottery is coated, apply the glaze in thin, even layers.
To minimise drips and runs, avoid applying too much glaze. - Before firing the pottery piece again, allow the glaze to cure fully.
When firing a pottery piece, follow the manufacturer’s instructions. - The glaze and pottery chosen will determine the optimal firing temperature and duration.
After firing, examine the glaze’s colour and texture to see if any changes need to be made to the glaze formula or firing temperature.
Tips:
- Before trying to glaze the final piece, practise glazing on a scrap piece of pottery or paper.
Before adding glaze to a finished pottery piece, it is best to mix and test colours using a palette or mixing tray. - To ensure accuracy in the final design, work slowly and attentively.
- By following this guide, you may glaze your pottery without so many problems.
This guide brought to you from tialilly.com in support of old tupton ware pottery!